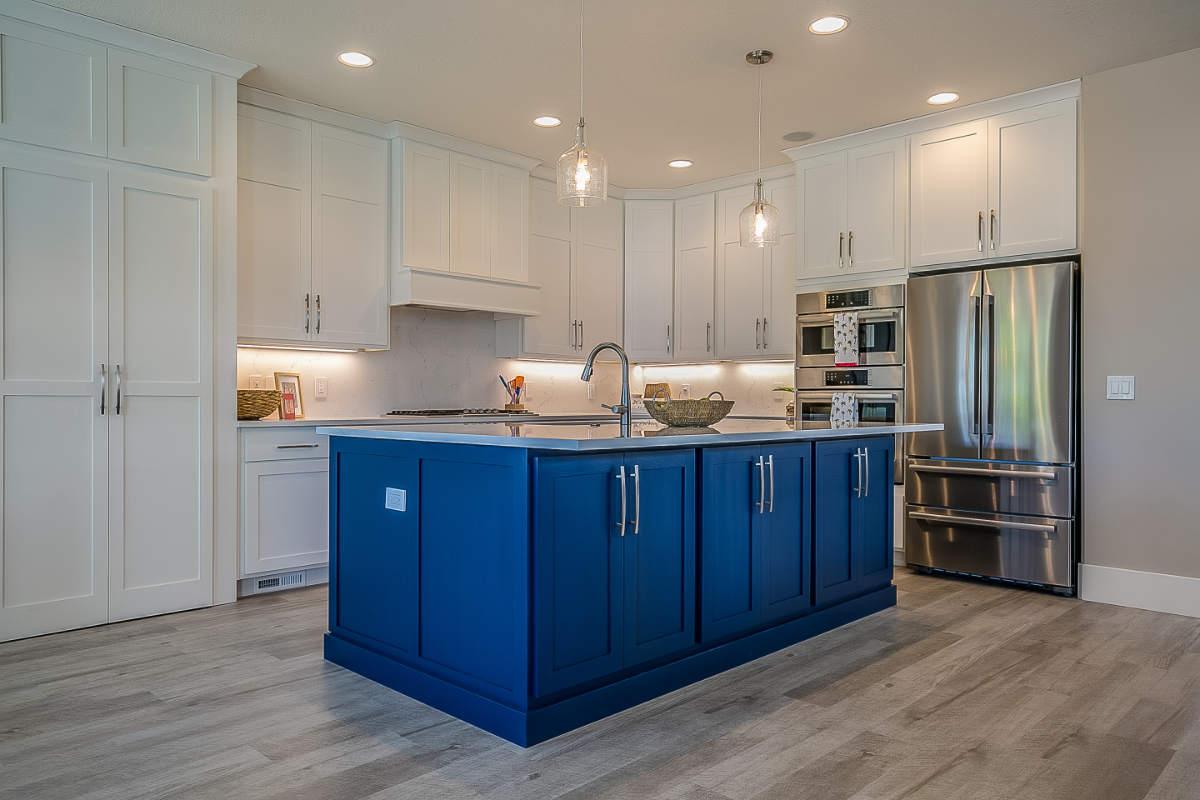
How can you give your kitchen a makeover without spending a lot of money? Give your cabinets a new look by repainting them. Painting kitchen cabinets can be performed without the help of a professional, but don’t underestimate the length of time it will take. Yes, it will take more than a weekend.
Painting your cabinets is a simple method to boost the value of your property. DIY cabinet painting is a cost-effective option to update your kitchen.
Painting kitchen cabinets requires a great deal of care and attention to detail. Most people pay a professional painter to paint their cabinets, but you can do it if you want to save money and do it yourself.
Here is what not to do when painting your kitchen cabinets next time. Here are some frequent kitchen cabinet painting blunders to avoid.
#1 Leaving doors, drawers, and hardware in place
Remove the cabinet doors, pull out the drawers, and detach the knobs or pulls before beginning this project. Also, empty the drawers and cabinets.
Label where the components should be returned after painting to make reassembly easy for you. You would have to use your paintbrush to cut in around the door hinges gently, and if you’re spraying, you would have to cover all of the hinges with tape.
Applying a fresh coat of paint without first removing the cabinet doors may be tempting, but removing the doors is necessary for the best results.
You’ll also be less likely to stumble against the cabinet doors while the paint is curing if you keep them out of the way, such as in a garage or separate workstation.
#2 Skipping the required preparation
The biggest blunder is failing to take the time to fully comprehend what is required to prepare the cabinets for painting.
Repainting kitchen cabinets may appear to be a do-it-yourself project, but it’s a complex, time-consuming undertaking that may quickly deteriorate if not done correctly.
Most cabinets will need to be sanded before painting, and any cracks or uneven portions will need to be filled with wood filler and allowed to cure.
After sanding, wipe away all dust and debris with a wet towel or a lint-free tack cloth. Any little particles that aren’t removed can go into the paint and destroy the cabinet’s beautiful finish.
This is a job you may be able to complete yourself if you have patience and some DIY abilities. Still, depending on the complexity of the cabinet design and your expectations for the finished product, it may be worthwhile to engage a professional.
#3 Applying thick paint layers when painting kitchen cabinets
The purpose of painting kitchen cabinets is to create a long-lasting surface that can withstand regular use.
Rather than a single thick layer that can easily chip off, multiple thin coats of paint are ideal for building up the surface. For the best guidance, you can try out Kitchen Cabinet Painting North York.
#4 Choosing the wrong paint color
Choose the correct paint for your kitchen—higher gloss or sheen paints (such as eggshell, semi-gloss, or gloss) are simpler to clean. Then choose the perfect color that you won’t tire of in a few weeks.
Make a statement with a rich color or a tried-and-true neutral.
Are you ready for painting kitchen cabinets? To do-it-yourself, follow these tips.
- Remove the doors
- Before and after the paintwork, mark where the pieces should be returned
- Remove Hardware
- Doors and drawers should be cleaned
- Any dents or holes should be filled up
- Sand
- Prime
- Paint
- Allow drying
- Reassemble
#5 Using no primer
Use a primer so you’ll have a barrier between the wooden cabinet doors, so the paint color will stand out. Paint may adhere better to a smooth surface if a primer is applied. Be sure that the primer you use is suitable for your cabinets.
Older cabinets are usually painted with oil paint. However, today’s most popular paint is latex paint. If you use latex paint over oil-based paint, the latex paint will slowly peel away, requiring you to repaint sooner than expected.
Instead, use an oil-based primer before painting kitchen cabinets with latex paint.
#6 Not allowing cabinets to dry long enough
Although painted cabinets can feel dry to the touch within a few hours, the drying process may take several days. The cabinets will be more prone to chips and blemishes until they have fully set to a hard, durable surface.
Reattach the cabinet doors and hardware after at least 48 hours, and be careful not to slam or scrape the doors for the first week.
#7 Cleaning the frames and doors
Cleaning your cabinets before priming and painting them is a crucial process that should not be overlooked. Even though your cabinets appear to be recent and clean to the human eye, they most likely aren’t. You’re not going to like painting over grease.
Cooking and boiling food causes cabinet doors to grow oily over time. Adhesion issues with primer and paint can be caused by small food particles, coffee machine exhaust, or even residue from a home cleaner.
#8 Sanding without a sander or with a sander
Although your primer’s label may state that no sanding is required, you should always sand. The first sanding dulls your cabinets’ lacquer finish, making the primer grab the surface easier.
To get a smooth finish, sand between coats. The initial layer of primer usually dries rough to the touch, but scuff sanding between coats smooths out the surface.
Sanding your cabinets with extremely coarse sandpaper is not recommended. Aggressive sanding, for example, can easily harm cherry and maple beyond repair. All you have to do with the initial sanding is dull the surface.
Cabinets with a thicker lacquer covering will require a coarser grit but always start with the finer grit to see what happens.
Another standard error in this stage is attempting to sand everything by hand. I strongly advise sanding your cabinets using an electric finishing sander.
Sanding wood cabinets generates a significant amount of dust. You can and should sand the doors outside, but you’ll have to sand the frames inside, so a plastic dust barrier is essential.
#9 Sanding dust not removed
Without washing the surface before each application, dust will contaminate and destroy the paint finish of your cabinets. When dust and particles get lodged in the paint, it shows up when the cabinets are seen under a bright light at an angle.
Wipe the surface with a tack cloth before applying each coat of primer and paint. Alternatively, you can blow the dust off the substrate using compressed air from an air compressor or a shop vac.
#10 Remodeling your kitchen after painting kitchen cabinets
Countertops should be installed after painting kitchen cabinets, not after because the painted base cabinets may be damaged when removing the old counter before replacing it.
The same may be said for the backsplash tile between the cabinets. Before painting, you should refinish your floors and install new appliances. While painting, use protective materials to cover your new counter and floor.
Final Thoughts
Painting kitchen cabinets is a difficult job that could turn our poorly if you don’t use masking materials to protect everything first. Painting cabinets with a brush and roller might look fine, but spraying them provides a considerably smoother finish with a bit of effort.
When Painting Kitchen Cabinets, brushing and rolling is also a mistake if you only have a limited time to complete this project. Instead of rolling the doors, spraying them will be about half the labor time.
We hope that this blog may be of assistance to you. Also, if we have missed out on anything, feel free to comment down in the comment box.


0 Comments