DIY Upholstery Tips For Reupholstering Chairs
You can’t bear to throw out some of your beloved furniture? DIY chair reupholstery may be a great option if you want to refresh an old chair without spending much money.
To help you get started on your DIY chair reupholstery project, we will go over some of the basic tips for upholstery. This comprehensive beginners guide to upholstery will teach you everything you need to know before you get started, from selecting the right tools to checking the inside structure of your furniture.
Get the Right Tools for Reupholstery
One of the most important tips is to ensure that you have the right tools, because without them, you can’t do a decent job. Your finished product will also thank you for choosing the right tools since they will make your life easier. This will result in results that are professional-looking!
Some of the things you need will depend on the project you are going to do of course. If you are going to reupholster a simple dining room seats for instance, you may only need a staple gun and scissors.
For a Basic Upholstery Project, You Will Need Just a Few Tools:
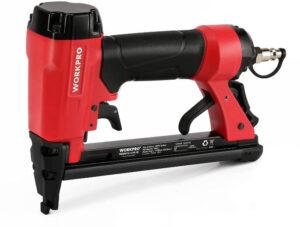
Upholstery guns come in three different types, the most popular being the pneumatic staple gun. Don’t just pick the cheapest option because you might regret it! Choose this type to make the job much simpler and faster.
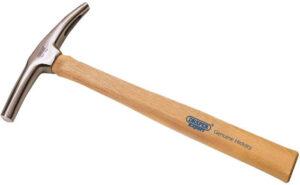
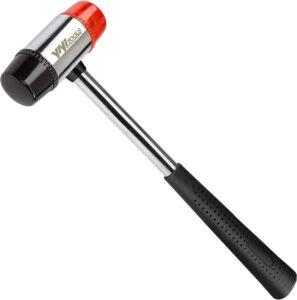
Nails can be added to upholstery to add a final touch. As well as covering any visible staples, these can also be used as decor to enhance the look of the furniture. Hammers are required for this task.
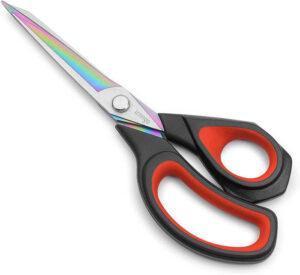
Good quality fabric scissors are essential for getting straight lines and avoiding tearing the fabric.
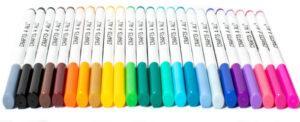
You will need fabric markers to mark where the fabric and padding needs to be cut. It’s a good idea to get a set with different colors so you can easily see the lines on any fabric color. Chalk can also be used but again you will need at least a few colors.
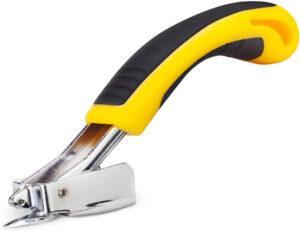
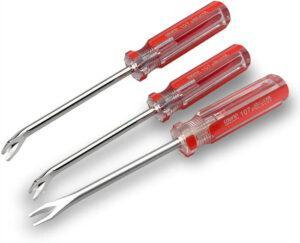
In many cases you will need to remove the old fabric and it will be attached with nails or staples. This tool will make the task much easier.
Choosing Your First Reupholstery Project
While being enthusiastic is great, if you’re just beginning to reupholster furniture, you shouldn’t choose expensive, larger, or important pieces to start with. Start with small projects until you feel confident enough to take on larger ones.
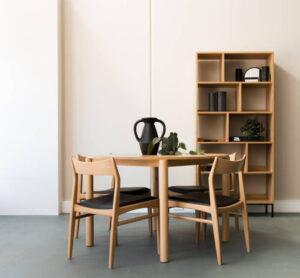 Taking on a large piece of furniture may prove too challenging for you, and this may keep you from upholstering for quite some time. If this is your first upholstery project, choose something simple like small like a bar stool or dining room seat.
There will be less pressure to get it right the first time, so you can have more fun with it and any mistakes won’t be as disastrous.
Significant pieces of furniture like sofas and accent chairs will likely require some sewing. If you’re not able to do the necessary sewing, then you can try to find someone to do the sewing or hire a professional.
Here’s an excellent video that takes you through the whole process of reupholstering a dining room seat:
Dining Room Chair Reupholstery in 12 Steps
- Remove the screws underneath the dining room chair that secure the seat to the dining room chair frame.
- Remove the existing fabric using a staple or nail remover. If your chair seat has a complex shape, keep the old fabric it intact so that you can use it as a pattern to cut the new fabric.
In some cases you might be able to place the new fabric over the existing fabric instead of removing the old fabric. Doing so often makes it difficult to fold the corners nicely. If you think it could work and you have some extra fabric, give it a try. - Place the dining room seat on the fabric with the top side facing down. The seat should be placed so that it is about 3 to 4 inches from the edges of the fabric. Don’t worry about getting it exactly right. Make adjustments before cutting.
- The fabric should be cut 3 to 4 inches from the cushion’s edges. This much fabric will be required to cover the cushion completely. Wrap the edges of the fabric up and over the edge of the seat to find out where to cut. Once the fabric is marked, cut it.
- Attach the upholstery to the seats by stapling it in the middle of each side. Take hold of the fabric on the seat’s one side and pull it up and over the edge. Put a staple at the center of the edge of the seat to secure the fabric.
Repeat this process on the other three sides of the seat. The upholstery should be stapled to the underside of a round seat in four equidistant locations, such as at 12 o’clock, 3 o’clock, 6 o’clock, and 9 o’clock. - Work your way out from the corner while pulling and stapling the fabric. Select one side to work on first. Hold the fabric next to the first staple on the inside of the seat. Continue stapling along the edge of the seat going out toward the corner, and then do the other side. The fabric at the corners should not be stapled yet.
Make sure you do this on both sides of the seat. - Fold the fabric at the corners and staple in the center of the fold. Once the fabric is secured along the sides, choose a corner and fold the fabric over at the corner to gather it. Then, fold the fabric again, and staple the fabric a couple of times at the center of the fold to hold it in place.
Repeat this process for the remaining corners. - The excess fabric should be cut off 1 inch from the staples on each side. After the fabric has been secured at the corners, cut the fabric 1 inch from where the staples are. In this way, the excess fabric will not hang down.
It is important not to cut too close to the staples or the fabric may come loose. - Make a dust cover by dust cover cutting the fabric to the same dimension as the seat. Cut along the edges of the fabric once it is placed over the back of the seat.
If you are cutting out the dust cover fabric, be careful not to cut through the upholstery fabric. - The dust cover fabric should be folded under and stapled to the seat. The dust cover fabric should be folded on one side of the chair and stapled in place. Start by stapling the center of one side of the fabric and then work your way outward.
- To secure the dust cover, repeat this process all the way around the chair’s edges.
- You are now done with reupholstering your dining chair! Now reattach the seat to the chair frame using the saved screws.
Don’t Forget the Inside
If this is your first project, you should choose a project that focuses on updating the outside. With that in mind, make sure the insides are in good condition or else you should consider a different piece of furniture for your first project.
If you do choose a fully upholstered chair like an accent chair then you need to be aware of other potential problems on the inside, underneath the fabric.
Sit on the furniture piece to test how sturdy and solid it feels. If the frame is wobbly at all then the frame will need some reinforcements. If you are handy you may be able to resolve the issue with some glue and screws to make the frame solid.
The other important to check for is whether it feels too hard or too soft when you sit in it. These are signs that there are problems with the springs, webbing or padding on the inside. These kinds of problems should be left to a professional but again, if you are handy you could investigate it further and see if you can figure out what to do.
If your chair has a loose seat cushion, remove it and run your hands along the surface of the seat. Push down as you run your hands along. You will probably feel springs as you push down. Better quality furniture will have coil springs or zig-zag springs. Do you feel irregularities?
If there is a loose or broken spring it should feel quite obvious. It could just be detached from the frame which you could fix fairly easily. If it is actually broken, it will need to be replaced and this could be difficult to find depending on how old the furniture is. You will have to strip off the old fabric and padding down to the frame in order to see and repair the springs.
Here’s a video that explains how to install Zig Zag springs on a chair:
Is the Chair Worth Reupholstering
There are some things to take a look at before you decide whether or not you should proceed with a particular chair. Watch this video:
If you are going to reupholster a simple dining room seat, you might be able to just recover the seat with new fabric over to of the existing fabric. In some cases where the seat is a snug fit within the chair frame this might not be possible. In that case an most reupholstery cases, you will need to strip off the old fabric.
Make a Pattern
When you do strip off the old fabric, try to keep it intact so that you can use it as a pattern to cut the new fabric. This is especially important for more complex reupholstery projects.
Be Picky With Fabrics
Take the time to find some fabric you really like and make sure it is good quality. Consider a dark fabric to reduce the visibility of stains and water-resistant fabrics are also a good idea to protect your chair from spills.
It’s not worth the effort of upholstering an item of furniture if the fabric is only going to last a short time or tears as you’re working on it. You could give your furniture a new lease on life for many years to come if you choose a fabric that won’t tear easily and is durable enough to withstand years of use.
If you have doubts about whether a fabric is good quality and adequate for your upholstery project, just ask the supplier before purchasing.
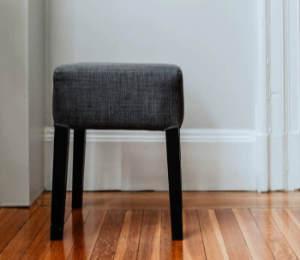 Start Small
As mentioned earlier, if this is your first project, it is a good idea to do a simple project like a bench seat, bar stool or dining room seat.
Once you have done a few simple projects and you feel ready to try more challenging upholstery projects, here is a list of other tools you may need…
Upholstery Tools for More Advanced Projects
Upholstery Stripping and Internal Repair Tools
A mallet is sometimes needed to help remove staples during the furniture stripping process. An upholsterer will use the mallet to hit the tool’s end for extra force when using a staple puller alone to remove a staple. As you remove a staple with a mallet, be sure to move your hand out of the way ahead of time and slant away from it as the staple could come flying at you.
Staple pullers help remove staples from upholstery fabric so that it can be stripped. The two prongs can be inserted under the staple, and the handle can then be pulled out to remove it.
A tack puller or tack lifter is used in the upholstery process to remove any tacks holding fabric in place, so that the old fabric can be discarded and the layers beneath can be inspected.
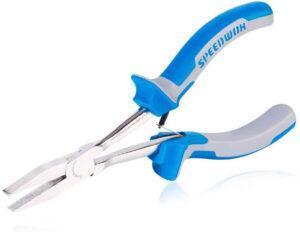
Upholsterers use flat nose pliers to straighten bent wires, which is necessary when taking apart furniture to remove old springs.
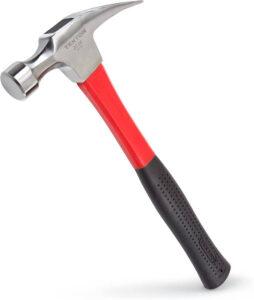
The purpose of ripping hammers is to remove old fabric and staples by cutting each edge at a specific angle.
When you need to repair springs, you will need spring clip pliers.
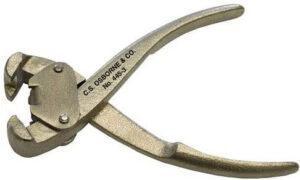
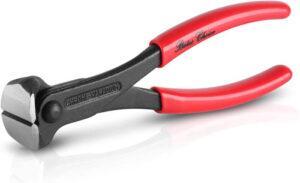
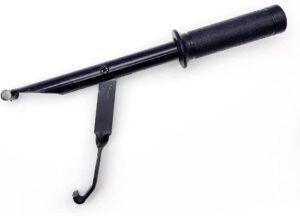
Pulling pliers will make your life easier when you need to remove a lot of staples. With the pliers’ angle, it is easy to insert underneath a staple, grasp it, and remove it, even in narrow spaces.
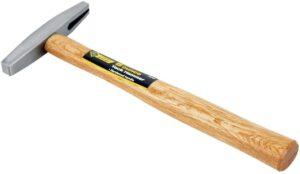
Webbing is secured with tacks with the help of tack hammers. You can hold the tack using the magnetized split end of the hammer before hammering.
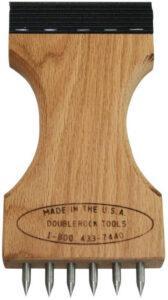
Stretchers for webbing allow upholsterers to attach webbing close to the frame of furniture. Attaching new webbing or tightening existing webbing can be accomplished with this tool.
Tools to Repair Upholstery Springs
A spring end former is a tool used to bend a spring end so that it does not dislodge from a spring clip at the end of a furniture piece.
With Klinch-its, upholsterers no longer have to sew springs to webbing because they can attach them using steel clips instead of stitching.
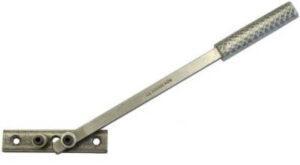
With a spring stretcher, you can position sinuous springs with a lever. Attach the spring to the frame on one side, attached a hook to the spring’s next-to-last loop, and slowly pull the lever to position it.
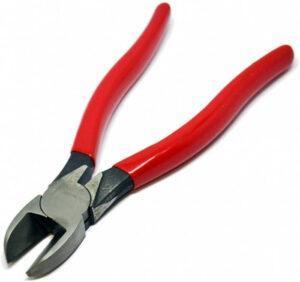
Wire cutters are used when you need to replace springs so you can cut them down to the right size.
Tools to Repair Stuffing And Padding
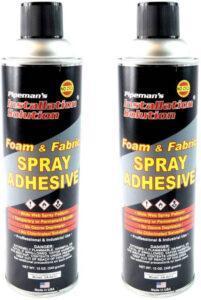
In order to attach foam, stuffing, and padding to other materials or surfaces, spray adhesives are used.
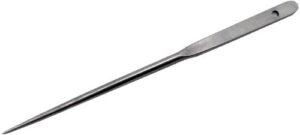
As the stuffing layers are stacked, upholstery regulators smooth out any irregularities. Regulators for upholstery come in various lengths and gauges, just like needles.
With a filler bazooka, you can fill pillows, pillow backs and cushions quickly and efficiently. Simply place the blower’s back end on top of the container, and its front end into the cushion or whatever item you need to fill. With this tool, you can fill your mattress with shredded foam, kapok, styrofoam pellets, down, and many other loose filling materials.
Final Upholstery Finishing Tools
A staple gun is probably the most used tool so a good quality staple gun is essential.
There is a lot of fabric cutting to be done during the upholstery process so upholstery scissors are an essential tool.
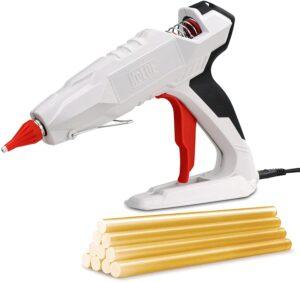
The final finishing or creasing detail is sometimes fixed with a hot glue gun.
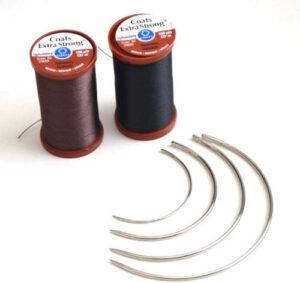
When slip-stitching cushions, attaching outer fabric sections, working on seat edges, and making edge rolls, curving needles are used.
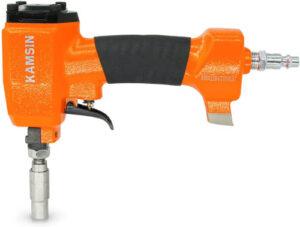
Furniture is decorated with decorative nails using decorative nail guns by upholsterers. To avoid frequent reloading, store a few decorative nails in the hopper of the nail gun.
Upholsterers use seam stretchers to smooth out wrinkles before blind stitching. In addition to cutting large circles, you can also use this tool to sew blind stitches.
Using the same hammer as for webbing, tacks can be hammered into place to hold the fabric in place.
In order to properly shape a cushion, upholsterers poke a sharp end of an upholstery regulator through the fabric, reposition the filling, and push the cushion into corners or curves after applying the top cover. To finish pleats or corners, or to tuck fabric under metal tack strips, the upholstery regulator’s flat end is used.
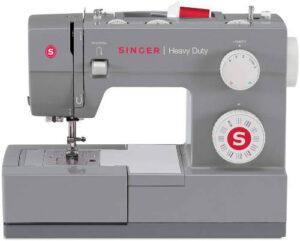
The need for a sewing machine will naturally depend on the project but an upholstery grade sewing machine is an essential tool for anything beyond basic upholstery projects.
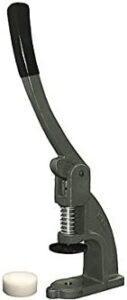
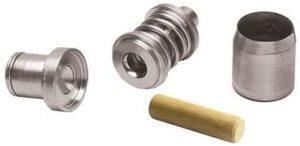
To make custom-fitted, fabric covered buttons for upholstery projects, upholsterers use a button press. For the use of a button press, button die cutters are also needed.
A button press is used in conjunction with a die cutter to cover buttons with fabric. Various sizes are available to create the appropriate size fabric for the button.
Practice makes perfect!
Developing skills takes time, and the more time you spend on it, the better you will become. With these tips, you should feel confident enough to start your first diy chair reupholstering project.
Where can you get all these upholstery tools?
Amazon is of course a great resource for most of the tools you need. Also, be sure checkout Upholster.com and diyupholsterysupply.com
Where to buy upholstery fabric?
You can find just about anything you need in upholstery fabrics at Fabric.com or Joann Fabric
You might also like “5 Easy DIY Home Projects That Add Wow Factor” and “How to Clean a Sofa”




0 Comments